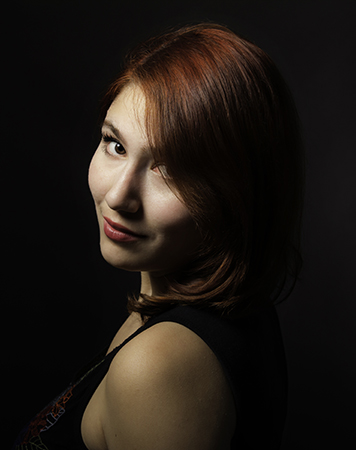
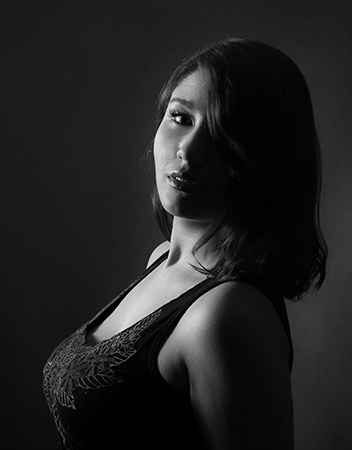
Light Pattern assignment, shot on the 12nd of February.
The assignment was to shoot 6 light patterns on a model: Rembrandt, loop, split, paramount, short, and broad lighting.
The photo shoot was a success, but as always there’s always room for improvement and that’s what I’m here to talk about. Hopefully other aspiring photographers can get something out of this when they do their next assignment.
1. Stray hairs
Make sure you check your model for stray hairs and fix it before taking each shots. Stray hairs took, by far, the longest time to retouch in photoshop and even after you try to fix it, it just doesn’t look quite right when you zoom in.
2. Modeling Lights
Make sure to turn them on lol.
3. Backlight
I used two lights for this photoshoot session, a beauty dish and a light for the back background to separate the subject from fading into the background and to have a soft vignette. The problem I ran into at the beginning of the shoot was that the backlight was too bright on the backdrop and it made the background lighter than I wanted. Keep in mind that the backlight is only there to separate the subject from the background, nothing more; so keep the power low and close enough to just barely light the background up.
4. Tethering & Focus
The last problem I had was the focus since I can’t autofocus when I’m tethered to the overhead. I was shooting at around f5.6-f11, the f11 shots were better, but the lower aperture shots were not quite as sharp since the model will move from time to time. What to take from this is use a higher aperture and make sure to check your focus from time to time to make sure you get the best focus possible when autofocus is not an option.
Every photoshoot is an experience and it only keeps getting better with time is what I’m trying to get at. Keep shooting and keep these 4 tips as a reminder before and during your next photoshoot!
Facebook.com/KalDesigns

